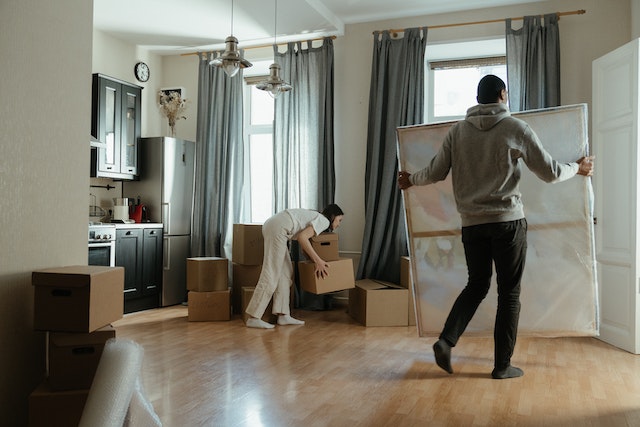
Most leases require residents to leave their rented premises in the same condition they found them in. Walk-through inspections are meant to help both you and your resident. On your part, you can rest easy knowing that your investment is well-maintained.
On your resident’s part, the inspection can encourage them to care for their rented premises which can ultimately lead to fewer or no deductions to their security deposit.
The following are 6 tips to help you conduct a successful tenant walk-through inspection.
1. Create a list.
Before you begin, create a form that lists everything that you intend the resident walk-through inspection to cover. Specifically, make sure you list all the rooms in the house as well as all components. You can get a generic form online or seek expert help from a property management company. Alternatively, make your own.
It’s in your best interest to ensure the walk-through inspection is thorough. List every room. Then, divide each room into constituent elements. Examples of the elements to include are: walls, floors, doors, sink, window, ceiling fans, and light fixtures. In the kitchen, list all appliances.
The form should have several columns next to the items you’ll be listing. These will be for the move-in condition, move-out condition, and the cost of repair for any item that gets damaged.
Lastly, the form should have a space at the bottom where both you and your resident can sign. Once you’re done with the inspection exercise, sign and date the form and give the tenant their copy for record-keeping.
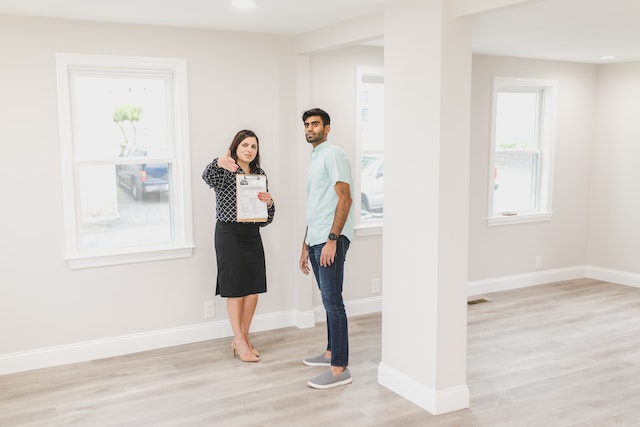
2. Conduct the inspection together with the resident.
Do this before the resident moves in. Schedule a time that is convenient for both of you to ensure the exercise goes on smoothly. Go through the property together, room by room. Note the property’s condition and cleanliness. Make sure you reach a consensus when it comes to noting the condition to avoid future disagreements.
You’ll also want to use that opportunity to express your expectations to the resident. Point out, for instance, how clean the interior of the oven is or how there are no holes in the walls.
If there is damage exceeding normal wear and tear, let the resident know. This can help them know the difference between damage and normal wear and tear.
But while having residents during the initial walk-through inspection is key, it may not be advisable to have them during the final inspection. Why? Because at the time the resident is leaving, they would have cleaned the property and made all the repairs. And the only discussion they will want is on how they are getting their whole security deposit back.
3. Simplify the process.
Do not complicate the process as it’ll only lead to potential future conflicts and misunderstandings. The resident may also become suspicious and may decide not to go ahead with the lease signing.
During the initial walk-through inspection, don’t try to point out every tiny detail. Otherwise, the resident may start to wonder whether you’re going to penalize them if they don’t return the property in pristine condition.
Generally speaking, take 20 minutes or less to do the walk-through inspection.
4. Document the property’s condition using photos and video.
In addition to filling out the inspection form, also make sure you have your smartphone with you. A good smartphone will have a good camera for photo and video capability.
Once you’re done documenting an item on the form, take a close-up of any damage. Make sure you enable the date stamp feature if possible.
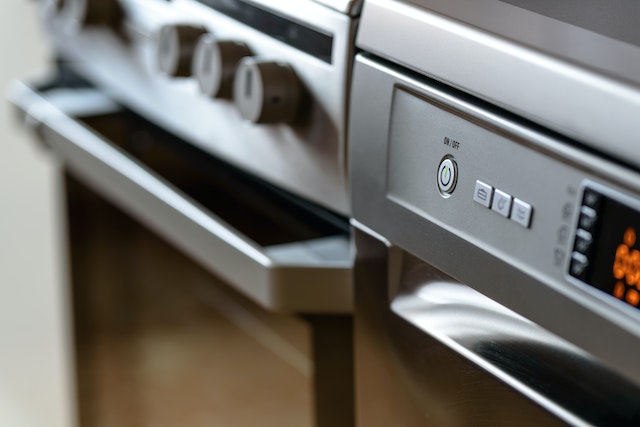
5. Inspect the property beforehand.
Go through the property by yourself. Test to see that all elements are working as they should. Switch on the lights. Replace any switches that are malfunctioning or any bulbs that are burnt. Run the air conditioning unit and other appliances. Do they work as they should?
Open and close all curtains and blinders. Are there any that are torn? Open and close all doors and windows. Do the locks work as they should or are they squeaky and some have missing locks? Are there any leaky faucets? Are the gutters and downspouts working as they should? How is the condition of the roof?
It goes without saying that you should make all repairs prior to renting out your property. This will give you an easier time during the walk-through inspection. Providing your tenant with a desirable rental space can also incentivize them to care for it. It can also lead to higher occupancy rates.
Remember to test everything again during the final walk-through inspection. It’s important to ensure your property is in good condition to keep your tenants happy and safe.
6. Allow the resident time to inspect the property by themselves.
Once you have both signed the lease, allow the resident an additional 3 days to ‘discover’ additional problems on their own. If they come up with something legitimate, have it documented on the form.
The resident may, for instance, discover that the dishwasher doesn’t drain properly after a load of dishes. Similarly, you may not be able to notice a kitchen cabinet is broken until the resident tries to open it several days later.
Bottom Line
These 6 tips should help you conduct a proper resident walk-through inspection for a successful landlord experience. If you have a question or need help managing your rental property, then look no further than Five Star Property Management.
We provide full-service property management services in Pocatello and the surrounding areas. Get in touch to learn more about our services!