Property video tours are the rage nowadays. Face-to-face property showings can take up a lot of time. After being interested in your listing, viewers can check out a virtual tour to see if the rental fits what they’re looking for at a basic level.
Contrary to popular belief, video tours are not hard to create. If you just follow a series of steps, you can make one even as an amateur in videography. Pretty soon, you’ll be releasing video tours of your different rental units with confidence.
The following tips will help you film a rental video tour of your property!
Steady your hands when filming
One of the ways that videos can be ruined and look unprofessional is a shaky output. Hold your hands steady. If you find it hard, you can lean against the wall for support. Limit jerky movements and keep the camera close to your body. If this doesn’t work, you can try using a tripod for greater stability.
Avoid covering the camera’s lens
Always be aware of your hand’s position when filming a video tour. You don’t want to end up reshooting the video because your finger was slightly in the frame the whole time. To save time check your hand placement and look in the corners of the screen to ensure that there a clear field of vision.
Take test shots
Before the actual filming, take some test shots. This is to analyze the way the room looks. You may realize that you need to quickly adjust the settings. Ask yourself:
- Is it too bright or too dark in the room?
- Are the angles and framing of shots looking good?
- Are there distractions in the area such as reflections or streams of light that can take away the focus?
You can adjust accordingly before you shoot the entire video tour. This will also help save you time because you’ll be able to avoid reshoots.
Learn some technical skills
To make your video work, you need to have some technical know-how in the following areas:
Audio
Make sure you have a clear voice so the audience can understand what’s being featured. Invest in a good microphone to ensure that you’re capturing crisp clean audio.
If you’re planning on using some background music it’s essential to choose one that doesn’t take the viewer’s attention away from the video tour.
Lighting
Use natural light if possible. Filming indoors can be darker so make sure to shoot on a sunny day with the blinds open. Aim to use the soft light in the early morning or early evening.
Composition
Learn some basic framing techniques. This can be the rule of thirds or creating some depth to make the video more interesting.
Landscape format
Choose a horizontal setup since it’s more cinematic and comfortable for viewers. It’s also the best way to capture details such as the size, scale, and layout of your rental property.
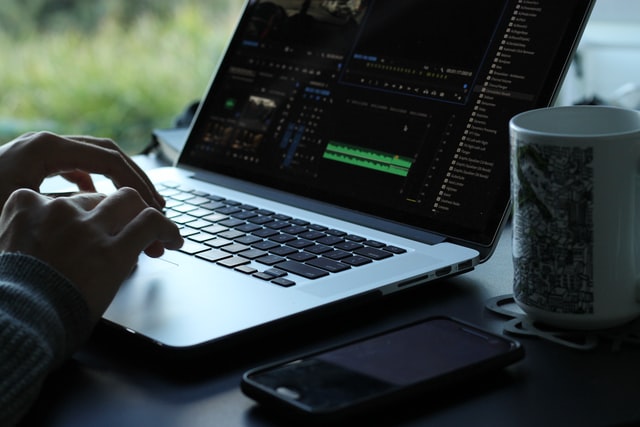
Use a good editing software
You should never post your raw, unedited footage. There are plenty of video editing software available to use. Here are a few of the many editing software available to you:
Apple iMovie
- Pros: User-friendly, plenty of editing tools
- Cons: Fewer features
Adobe Premiere Pro CC
- Pros: Customizable features and convenient to the user
- Cons: Require skill to add titles, can be expensive
Final Cut Pro X
- Pros: High resolution, flexible format
- Cons: Can be pricey
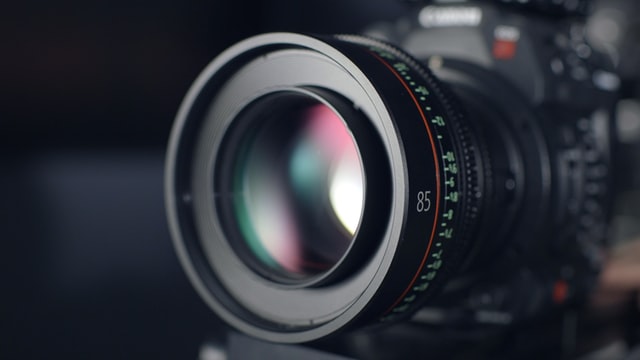
Use proper equipment
Despite what you may think, you don’t need to invest in expensive filming equipment to make your video tours. Nowadays, a mobile phone can be used in creating quality videos.
When filming, make sure that the video is stabilized and that everything is in focus. There are already built-in settings on phones such as time-lapse and slow-motion features you can take advantage of.
Prepare a shot-list before filming
Think about the property features and amenities. Position your video around them to ensure that you show them off.

List each room and detail the specific areas you want to highlight. By noting down the details, you’re halfway to nailing a good video tour. Once all this is done, you can practice the route you’ll be taking as you’re filming.
Make your video tour short
While it’s important to show off the property and its best features, you don’t want to take up a prospect’s time. Point out what makes the rental unit stand out from others. The video tour should easily allow the viewer to focus on the best selling points of your Idaho property. A maximum of 3 minutes is a good time to hit.
This may seem short, but between the videos and the voice-over, you can fit a lot of information in.
Share your video
Think over the multiple platforms where you can distribute your video tour. The more video shares, the wider the pool of prospects. You might just catch the attention of the type of resident you’re looking for.
Bottom line
Videos are easy to show prompt your property and reach a wider range of prospective residents. Since video engagement remains high, doing property video tours is a sound decision.
Videos tend to be dynamic and allow a viewer to experience the vibe of a rental unit. Photos can capture more details and provide a more close-up viewpoint. Both have their benefits so it’s essential to deploy both as marketing strategies.
If creating a video still feels too daunting, you can always choose to outsource. Consider hiring the services of a professional property management company like Five Star Property Management to help you with all your property marketing and management needs!